
Table of Contents
- Understanding Inverter Types for Battery Systems
- Hybrid Inverter vs AC-Coupled Inverter: Which Suits Your Home
- Sizing Your Solar Inverter and Battery Capacity
- Checking Solar Inverter and Battery Compatibility
- Adding a Battery to Your Existing Solar System
- Key Selection Criteria and Common Mistakes
- Frequently Asked Questions
Last Updated: October 6, 2026
Understanding Inverter Types for Battery Systems
When you add battery storage, the inverter becomes your system’s brain, converting solar energy into usable power and managing flow between your panels, solar inverter batteries, and home. But not all inverters work the same way.
Your choice determines whether the system works efficiently, safely, and within Australian standards. At GridFree Solar, we help homeowners pick the right technology.
Hybrid inverters explained
A hybrid inverter manages solar panels, battery storage, and grid connection in one unit, switching between sources based on what your home needs: excess solar charges your battery by day, the battery powers your home at night, the grid steps in when it runs low, and surplus energy can be exported for credits. One device does multiple jobs, meaning fewer components and often lower total system cost.
AC-coupled versus DC-coupled systems
This choice affects how your battery charges and how efficient your system becomes.
DC-coupled systems connect your battery directly to the solar array through the inverter.
AC-coupled systems add your battery separately.
DC-coupled systems waste less energy in conversion, while AC-coupled systems offer more flexibility for retrofitting batteries into an existing solar setup without replacing your current inverter.
Hybrid Inverter vs AC-Coupled Inverter: Which Suits Your Home
The best choice depends on whether you’re building a new system or adding batteries to existing panels.
Choose a hybrid inverter if you’re installing solar and battery together from scratch, want the simplest, most efficient setup, or your installer recommends it for your roof layout and energy needs.
Most new Australian installations lean toward hybrid because they’re cleaner to install and comply easily with AS/NZS 5139:2019 and AS/NZS 3000.
Sizing Your Solar Inverter and Battery Capacity
Undersizing or oversizing your inverter is one of the most common mistakes homeowners make. Too small, and it can’t handle peak demand, forcing grid draw despite available solar and battery capacity. Too large, and you pay for capability you’ll rarely use, with efficiency dropping at low load. The fix is a simple worksheet that gives you the two numbers that matter: continuous load and surge load.
Step 1: Build a simultaneous-load worksheet
List every appliance you might run simultaneously during peak period, noting each one’s running watts (not yearly energy use) from the rating plate or manual.
| Appliance | Running watts | Surge watts (startup) |
|---|---|---|
| Split-system air conditioner | 1,500-2,500 | 3,000-5,000 |
| Electric oven | 2,000-3,000 | 2,000-3,000 |
| Induction cooktop (2 zones) | 2,000-3,600 | 2,000-3,600 |
| Hot water heat pump | 500-1,000 | 1,500-2,500 |
| Refrigerator | 100-200 | 600-1,200 |
| Washing machine | 500-1,000 | 1,000-2,000 |
| Dishwasher | 1,000-1,500 | 1,000-1,500 |
| Pool pump | 750-1,500 | 2,000-4,000 |
| Lights and electronics | 200-500 | 200-500 |
Add the running watts of everything you’d realistically run together, that’s your continuous load. Then add the surge watts of the largest motor-driven appliance (usually the air conditioner, pool pump, or fridge compressor) for your surge load.
Step 2: Compare against inverter ratings
Every inverter has two ratings to check:
- Continuous power rating, the power it can deliver indefinitely. This must be at least your continuous load.
- Surge (peak) power rating, the power it can deliver for a few seconds during motor startup. This must be at least your surge load.
A common rule is to size the continuous rating 20-30% above your measured continuous load for future additions and efficient running. The surge rating should comfortably exceed your surge load, most quality inverters publish roughly 1.5 to 2 times their continuous rating for a few seconds, but check the datasheet.
Surge ratings are time-limited. An inverter that claims 10 kW surge may only hold it for 3-5 seconds. If your air conditioner compressor cycles repeatedly, the inverter must recover between surges. Check the datasheet for both the surge magnitude and its duration.
Step 3: Match battery capacity to daily consumption
Peak load is a moment; daily consumption is total energy used in 24 hours, measured in kilowatt-hours (kWh).
Your solar inverter batteries capacity should cover evening and overnight consumption minus daytime solar generation.
A more realistic approach: estimate evening and overnight consumption separately. If you use 10 kWh between 6 PM and 7 AM, you need at least 10 kWh of usable capacity.
Step 4: Check the inverter-to-battery ratio
Most hybrid inverters have a maximum battery charge and discharge rate.
A common design target is a charge/discharge rate that fully cycles the battery within your solar window (roughly 9 AM to 3 PM) and covers your evening peak.
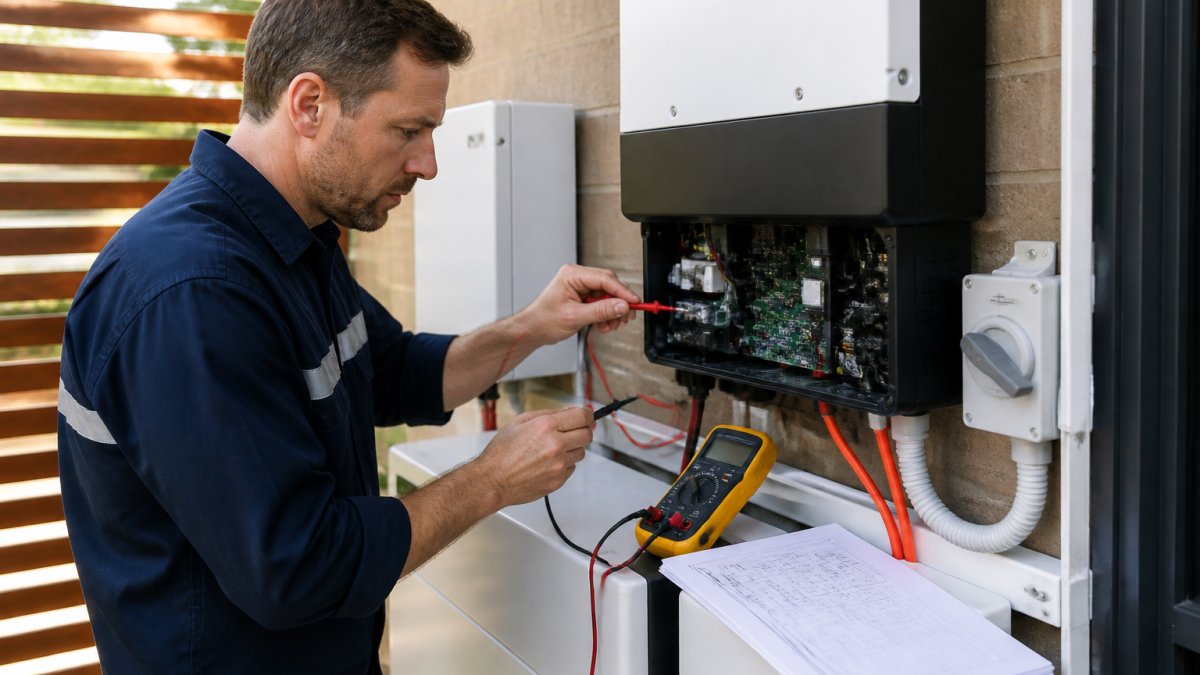
Write down two numbers before you talk to an installer: your continuous load (running watts of simultaneous appliances) and your surge load (continuous load plus the largest motor startup). Then check the inverter datasheet for both its continuous and surge ratings, and confirm the battery’s usable capacity and charge/discharge rate. These four numbers drive every other decision.
Checking Solar Inverter and Battery Compatibility
Not every inverter works with every battery. Compatibility determines whether your system is safe, efficient, and compliant with Australian standards, and it’s where homeowners get caught out most, because a battery that looks compatible on paper may not communicate properly with the inverter.
Battery voltage: nominal versus operating range
Batteries are described by nominal voltage, 48V, 51.2V, sometimes 24V for smaller systems, but that figure is just a label. What matters is the operating voltage range.
Check the inverter datasheet for its battery voltage range and compare it against the battery’s operating voltage range. The battery’s range must sit entirely inside the inverter’s range.
Battery chemistry and charge profile
Lithium iron phosphate (LiFePO4) dominates home batteries for its thermal stability and cycle life. Other chemistries, such as nickel manganese cobalt (NMC), have different voltage curves and charge profiles.
Your inverter must support the specific chemistry.
The wrong charge profile can shorten battery life, reduce usable capacity, void the warranty, and create safety risks from overcharging or over-discharging.
Communication protocols and closed-loop control
A battery and inverter need to talk to each other. There are two ways:
- Open-loop (voltage-based) control, the inverter estimates state of charge from voltage. Less accurate because voltage sags under load and recovers at rest, but it works.
- Closed-loop (communication-based) control, the battery’s battery management system (BMS) sends real-time data to the inverter (state of charge, voltage, current limits, temperature, fault status), and the inverter adjusts accordingly. More accurate and safer.
Closed-loop control requires a compatible protocol, commonly CAN bus or RS485 on Australian home batteries, though some manufacturers use proprietary protocols. Your inverter must support the same protocol as the battery’s BMS.
If protocols don’t match, the system may still work open-loop, but you lose the accuracy and safety benefits, and some inverters won’t operate at all without a valid communication link.
How to verify an approved combination
Manufacturers publish compatibility lists, approved battery lists or integration guides, showing tested inverter and battery combinations. These are the starting point, not the finish line.
How to verify a combination properly:
- Check the inverter’s approved battery list for the exact battery model and firmware version.
- Check the battery’s approved inverter list, the battery manufacturer may have tested with a different firmware version than the inverter manufacturer.
- Confirm the communication protocol matches (CAN bus, RS485, or proprietary).
- Confirm the voltage range of the battery sits inside the inverter’s DC input window.
- Confirm the charge and discharge current limits are within the inverter’s capability.
- Check the firmware versions, a combination that worked last year may need a firmware update to work with current hardware.
Your installer should complete this verification during design. An unapproved combination might work, but it won’t be covered by warranty if something goes wrong and may not comply with Australian electrical safety standards.
Ask your installer for the exact make, model, and firmware version of both the inverter and the battery they propose, then check both manufacturers’ compatibility lists yourself. If the combination isn’t listed on both sides, ask why.
GridFree Solar works with CEC Approved Batteries that meet Australian safety standards, confirming independent testing and compliance with AS/NZS 5139:2019 for electrical safety and fire risk. GridFree Solar’s CEC Accredited Installers verify compatibility before ordering any equipment, voltage range, chemistry, communication protocol, and firmware version, protecting you from costly mistakes and ensuring your system meets AS/NZS 3000.
Adding a Battery to Your Existing Solar System
If you already have solar panels, adding battery storage requires careful planning.
Retrofit versus new installation considerations
A retrofit keeps your existing inverter and adds a battery system alongside it, an AC-coupled approach.
Retrofits work well if your current inverter is modern (under 10 years old) and efficient, avoiding the cost of replacing working equipment.
New installations let you choose a hybrid inverter from the start, more efficient and cleaner to install.
Backup circuits and outage performance
Many people add batteries for backup power during grid outages, but not all systems provide equal backup.
Your inverter and battery can only power circuits connected to a backup switchboard.
Your installer designs which circuits get backup based on battery capacity and priorities.
GridFree Solar designs backup systems that keep essentials running during outages, helping you understand what’s realistic for your battery size.
Key Selection Criteria and Common Mistakes
The right choice comes down to matching inverter size to actual needs and understanding what you’re paying for.
Avoiding undersizing and oversizing pitfalls
Undersized inverter: You have solar and battery capacity, but the inverter can’t deliver it all at once.
Oversized inverter: You pay for peak capacity you’ll rarely use. A 10 kW inverter for a home peaking at 6 kW costs more upfront and runs less efficiently at partial load.
The fix: size your inverter to match peak household load plus a 20-30% safety margin. Nothing more.
Warranty, lifecycle costs, and professional installation
Inverters typically last 10-15 years; batteries 10-20 depending on chemistry and usage. Both are long-term investments, so warranty matters.
Most reputable inverters come with 5-10 year warranties; batteries often have longer coverage, sometimes 10-15 years, because they’re more expensive to replace.
Professional installation isn’t optional, an incorrectly installed inverter can cause fires, damage equipment, or void warranties. Australian standards require a licensed electrician.
Request a detailed warranty breakdown before you commit. Some warranties cover parts only, not labour. Others have conditions that might not apply to your situation. Understanding what’s covered saves expensive surprises later.
Choosing the right solar inverter for batteries isn’t complicated once you understand the core differences. GridFree Solar helps homeowners navigate these decisions with expert guidance on system design, rebate eligibility, and compliance. Learn more about inverter standards in the AS/NZS 5139:2019 electrical safety guidelines to understand what your system must meet.
Frequently Asked Questions
What size solar inverter do I need for a 10 kW solar system with battery storage?
Your inverter size depends on your peak household load, not just your solar panel capacity. A 10 kW solar array typically pairs with a 5-8 kW inverter for most homes, as you rarely use all generated power simultaneously. If you have high-demand appliances (air conditioning, pool pump, electric vehicle charger), size up to 8-10 kW. Battery capacity should match your daily consumption, typically 10-15 kWh for average homes. Consult a CEC accredited installer to calculate your specific needs.
What is the difference between a hybrid inverter and an AC-coupled battery inverter?
A hybrid inverter manages both solar panels and batteries in one unit, converting DC power directly to AC and storing excess energy in the battery. An AC-coupled inverter works with your existing solar inverter, taking AC power from panels or grid and charging the battery separately. Hybrid systems are more efficient (fewer conversion losses) and cost less upfront. AC-coupled suits retrofit installations where your existing solar inverter is new enough. Both must comply with AS/NZS 3000 and AS/NZS 5139:2019 standards.
Can I add a battery to my existing solar system?
Yes, but it depends on your current inverter. If your solar inverter is hybrid-capable, you may retrofit a battery using an AC-coupled system. A CEC accredited installer will assess your setup, check compatibility, and ensure all components meet Australian electrical safety standards. Retrofit installations typically cost less than replacing the entire system, though you’ll have two inverters and slightly higher conversion losses.
How do I check if my solar inverter is compatible with a battery?
Check your inverter’s model number and contact the manufacturer or your installer for compatibility lists. Look for inverters certified under AS/NZS 5139:2019 (battery energy storage systems). Verify the battery voltage (typically 48 V or 51.2 V) matches your inverter’s input range. Review the approved battery list from your inverter maker, not all batteries work with all inverters. A CEC accredited installer can confirm compatibility and ensure your system meets isolation switch and ventilation requirements for safe operation.