Last Updated: November 3, 2026
Quick Summary
Safe solar inverter troubleshooting starts with looking, not touching: check the display, LED lights and error codes from outside the casing, and never open covers or touch wiring terminals. Record the code, then power cycle in order, AC off, DC isolator off, wait five minutes, then DC on and AC on.
- Never remove inverter covers or test amperage yourself, because DC voltage from a rooftop array can be lethal.
- A full power cycle takes about 15 minutes, including a five-minute wait for capacitors to discharge.
- If the same error code returns within a day, the fault is real, so stop cycling and book a technician.
- Grid faults are the most common cause of a mid-day shutdown and are usually outside your control.
- Keep a dated fault log with photos, as missing records are a common reason warranty claims get rejected.
Table of Contents
- Safety First: Before You Touch Your Inverter
- Decode Solar Inverter Error Codes and Fault Indicators
- How to Reset Solar Inverter Safely: A Step-by-Step Power Cycle
- Check Grid Connection, Wiring, and Physical Damage
- Read Your Monitoring Platform and Spot Performance Drops
- When to Call a CEC-Accredited Electrician
- Warranty Claims and Seasonal Maintenance Checklists
- Book a Professional Inverter Health Check with GridFree Solar
- Frequently Asked Questions
Safety First: Before You Touch Your Inverter
Solar inverter troubleshooting starts with one rule: do not open the unit.
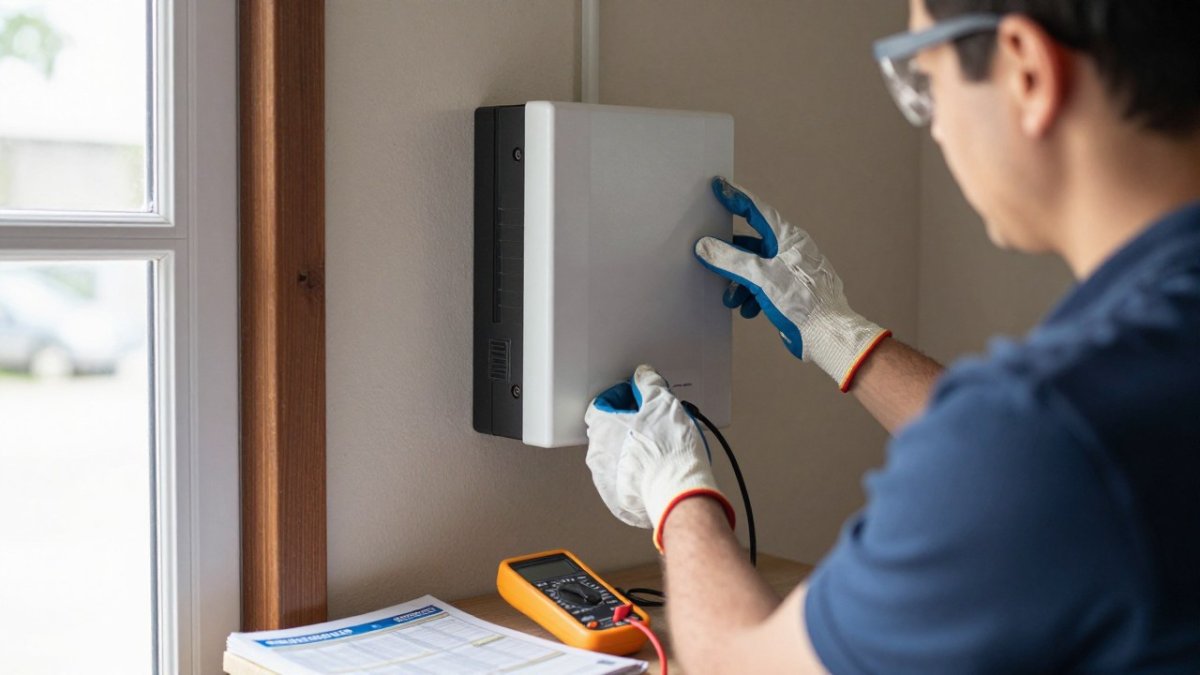
Here is what safe solar inverter troubleshooting actually involves:
- Check the inverter display and LED status lights from outside the casing
- Note any error codes before doing anything else
- Confirm the AC disconnect and DC isolator positions without opening covers
- Keep the area around the inverter clear and dry
- Stop immediately if you smell burning or see scorch marks
Never remove covers, touch wiring terminals, or test amperage yourself.
Watch out: a burnt smell or blackened cable is a fire risk, not a glitch.
Before you go further, run through a full solar system safety inspection checklist so you know the whole system is safe to work around.
Decode Solar Inverter Error Codes and Fault Indicators
Solar inverter error codes are the system’s own diagnosis, and reading them correctly saves you a wasted call-out. Most modern inverters show a code on the display or flash a pattern through LED status lights. Grab your manual, find the code table, and match it. If the manual is long gone, the manufacturer’s website may host a code table by model number.
Common fault indicators fall into a few families, and each family points to a different next step:
- Grid faults (over-voltage, under-voltage, frequency out of range) point to voltage fluctuations or a grid outage. These are the most common cause of a mid-day shutdown and are usually outside your control.
- Ground fault codes flag an insulation or wiring problem on the DC side. This is the one family you should never repeatedly reset.
- Thermal shutdown warnings mean the unit is overheating, often a blocked fan, a unit boxed in by stored goods, or direct afternoon sun on the casing.
- DC input faults suggest a panel, string, or isolator issue, and often show as one string reading zero while the others produce normally.
- Communication or Wi-Fi faults mean the inverter is producing but has lost its link to the router or monitoring platform, a connectivity problem, not a hardware failure.
A brand-agnostic diagnostic flow
Because code numbering differs between manufacturers, work from the symptom rather than the number. Use this sequence during an active fault:
- Is the display alive? If blank while the switchboard is live, treat it as a supply or isolator issue and stop, do not open covers.
- Is the code grid-related? Check your retailer’s app or outage map first. If the network is down, the inverter is behaving correctly and will restart on its own.
- Is the code ground-fault or DC-related? Do not reset more than once. Record it and book an electrician.
- Is the code thermal? Clear airflow around the unit, check for shade or debris, and let it cool before restarting.
- Is the code communication-only? Reconnect to the network before assuming hardware failure.
Write the code down, plus the time it appeared and the display colour or LED pattern. That record matters later for warranty coverage, and it is the first thing a technician will ask for.
Watch out: a common mistake is resetting a ground fault again and again. If the same code returns twice, stop. That fault needs an electrician, not another power cycle.
How to Reset Solar Inverter Safely: A Step-by-Step Power Cycle
Knowing how to reset a solar inverter safely comes down to one controlled sequence, done in the right order.
Total time: about 15 minutes.
- Record the error code and take a photo of the display. [Time: 2 minutes]
- Switch off the AC disconnect at the switchboard. [Time: 1 minute]
- Turn the DC isolator to OFF, following the label on the unit. [Time: 2 minutes]
- Wait five minutes so internal capacitors discharge. [Time: 5 minutes]
- Reverse the order: DC isolator ON, then AC disconnect ON. [Time: 2 minutes]
- Watch the display through grid synchronisation, which can take a few minutes. [Time: 3 minutes]
Expected result: the fault clears and the inverter returns to normal energy production.
If the same code comes back within a day, the fault is real.
Here is the safe power cycle sequence, step by step, with the time each one takes.
| Step | What to do | Time |
|---|---|---|
| 1 | Record the error code and photograph the display | 2 minutes |
| 2 | Switch off the AC disconnect at the switchboard | 1 minute |
| 3 | Turn the DC isolator to OFF | 2 minutes |
| 4 | Wait so internal capacitors discharge | 5 minutes |
| 5 | Reverse the order: DC isolator ON, then AC disconnect ON | 2 minutes |
| 6 | Watch the display through grid synchronisation | 3 minutes |
Check Grid Connection, Wiring, and Physical Damage
Grid connection problems are the most common cause of a silent inverter, and they are easy to rule out from the outside. Start at the switchboard.
Next, inspect what you can see without tools:
- Cracked or discoloured DC isolator casing
- Sun damage or rodent damage on exposed conduit
- Loose mounting hardware or a sagging unit
- Water stains or corrosion near cable entries
- A display that is blank while the switchboard is live
Check your last power bill or retailer app for an outage before assuming a fault. Grid synchronization failures often trace back to the network, not your system.
Wiring integrity and surge protection checks belong to a licensed electrician. Visual inspection is your limit.
Read Your Monitoring Platform and Spot Performance Drops
Your monitoring platform is the fastest way to tell a real fault from a bad day of weather.
Look for these patterns:
- Zero output while the sun is out: likely a trip or fault
- One string flat, others fine: a panel or isolator issue
- Output capped below normal: possible derating or thermal shutdown
- Connectivity gaps: a Wi-Fi or router problem, not a solar fault
Smart home integration adds its own quirks. If your inverter dropped off the app after a router change, reconnect it to the network before assuming hardware failure.
For a deeper walkthrough, read this guide on how to read your solar production data and spot drops with confidence.
When to Call a CEC-Accredited Electrician
Call a CEC-accredited electrician when a fault returns after a reset, when you see physical damage, or when anything smells, sparks, or discolours. Those are not DIY jobs.
Book a professional immediately if you notice:
- A ground fault code that will not clear
- Burning smells, scorch marks, or melted plastic
- A tripped breaker that keeps tripping
- Water ingress around the inverter or isolator
- A blank display with a live switchboard
In Australia, rooftop solar work must be done by an accredited installer, and the Clean Energy Council’s installer accreditation guidance explains what that accreditation covers.
If the fault looks serious, weigh up whether repair or replacement makes more sense before you call. This guide on deciding between inverter repair and replacement walks through the trade-offs.
Warranty Claims and Seasonal Maintenance Checklists
Warranty claims go smoother when you have a paper trail, so build one before you need it. Keep your installation certificate, the original invoice, and a log of every error code with dates and photos. Warranty terms run from a set date, so check your own warranty documents for the specific term and start date. For brand-specific details, see this Fronius inverter guide covering features and battery compatibility.
Navigating the warranty claim process
Most guides stop at ‘call a pro’.
Before you lodge a claim:
- Confirm the inverter is still inside its warranty period, using the installation date on your certificate
- Gather the error code history with dates and times
- Photograph the display, the casing, and the isolator
- Note any firmware update history and the date of the last update
- Record the serial number from the inverter label
What a strong claim file contains:
- A dated fault log (a spreadsheet or notebook is fine)
- Photos taken at the time of each fault, not reconstructed later
- The monitoring platform’s export of production data for the fault period
- A copy of the original invoice and Certificate of Electrical Safety
- A short written timeline: what happened, what you did, what the result was
A common pattern is a claim rejected not because the fault was invalid but because the homeowner could not show when it started. A dated log closes that gap.
Watch out: do not attempt repairs or open the casing to ‘help’ the claim. Physical interference can void coverage, and it puts you near live DC wiring.
Seasonal maintenance checklist
Proactive checks can help catch problems early. Run this list each season, and add a pre-summer pass before the hottest months put the unit under thermal stress.
- Clear leaves, debris, and stored goods from around the unit each season
- Check the display and LED status lights monthly
- Review monitoring data weekly for performance drops
- Inspect for shade growth from trees each spring
- Clean or clear airflow around the casing before summer
- Check the isolator and conduit for sun, rodent, or water damage each season
Seasonal checks catch most problems early. A little routine beats an emergency call-out, and a dated maintenance record strengthens any future warranty claim.
Book a Professional Inverter Health Check with GridFree Solar
Many inverter faults give warning signs before they fail, and catching them early usually takes a proper diagnostic check rather than a glance at the app.
GridFree Solar provides expert solar and battery installation with monitoring support built in. Our CEC-accredited installers work to AS/NZS 5139:2019 and AS/NZS 3000 standards.
Don’t wait for a fault code to force your hand.
Frequently Asked Questions
What should I do if my solar inverter shows a red light?
A red or amber LED status light usually means the inverter has detected a fault and has stopped energy production. First, check the inverter display or monitoring platform for a specific error code. Then perform a safe power cycle: switch off the AC disconnect, turn the DC isolator to the off position, wait five minutes, and restart in reverse order. If the red light returns after two reset attempts, do not keep cycling the unit. Record the code and contact a CEC-accredited electrician, as the fault may involve wiring integrity, a ground fault, or a failed component that requires licensed diagnosis.
Can I reset my solar inverter myself?
Yes, a basic power cycle is safe for most homeowners when done correctly. Locate your AC disconnect and DC isolator, switch both off, wait at least five minutes for internal capacitors to discharge, then turn the DC isolator back on followed by the AC disconnect. Never open the inverter casing or touch internal wiring. If the inverter does not restart, or if you smell burning, see scorch marks, or hear repeated clicking, stop and call a professional. Always follow the manufacturer’s shutdown sequence printed on the unit or in the manual.
How do I know if my solar inverter has failed?
Signs of inverter failure include a blank display, no LED status lights, repeated error codes after resetting, a sharp drop in energy production shown on your monitoring platform, or a tripped circuit breaker that will not stay on. A failed inverter may also produce a burning smell or visible damage. Compare daily wattage readings against previous weeks; a sudden drop with no change in weather can point to inverter trouble. Have a CEC-accredited electrician test the unit before assuming it needs replacement.
Are solar inverter repairs covered under warranty?
Inverter warranties vary by manufacturer, and coverage depends on the fault cause and installation compliance. Check your warranty documents for the term that applies to your unit. To navigate a warranty claim, gather your original installation certificate, the inverter serial number, error code history, and monitoring data. Contact the manufacturer or your installer with these records. Keep in mind that DIY tampering can void coverage, so always use a CEC-accredited electrician for diagnostic work.
