Table of Contents
- DIY Solar Installation: Overview and Key Trade-Offs
- DIY Solar Installation Cost: What You’ll Actually Spend
- Safety Risks, Electrical Hazards, and Roof Damage
- Solar Installation Licensing Requirements and Permits
- Solar Panel Warranty and Insurance: What DIY Voids
- Solar System Grid Connection Requirements and Approval
- When to DIY and When to Hire a Professional
- Frequently Asked Questions
Last Updated: October 17, 2026
DIY Solar Installation: Overview and Key Trade-Offs
DIY solar installation appeals to homeowners seeking to cut energy costs by handling the setup themselves, avoiding labour charges and taking control of the process.
DIY solar installation works for a narrow slice of projects; for most, professional installation protects your investment, ensures compliance, and maintains performance over decades.
This guide breaks down what DIY solar installation involves, where the real costs hide, and when it makes sense versus hiring a professional.
DIY Solar Installation Cost: What You’ll Actually Spend
The upfront cost of DIY solar installation includes equipment, permits, and tools, but not labour. Most homeowners underestimate the hidden expenses, so judge DIY only through a like-for-like comparison against a professional quote.
A like-for-like cost framework
Professional quotes bundle six cost lines. To compare fairly, price all six for a DIY build at the same system size. Using a 6.6 kW grid-tied rooftop system as the example, the lines are:
- Equipment, panels, inverter, mounting rails and clamps, DC isolator, cabling, conduit, and safety switches. One-off purchases cost more per unit than installer trade pricing.
- Permits and approvals, council building approval where required, plus your electricity distributor’s connection application fee. These are fixed costs you pay either way; they do not disappear because you self-install.
- Inspection and certification, the licensed electrician’s inspection and Certificate of Electrical Safety. This is mandatory and cannot be DIYed.
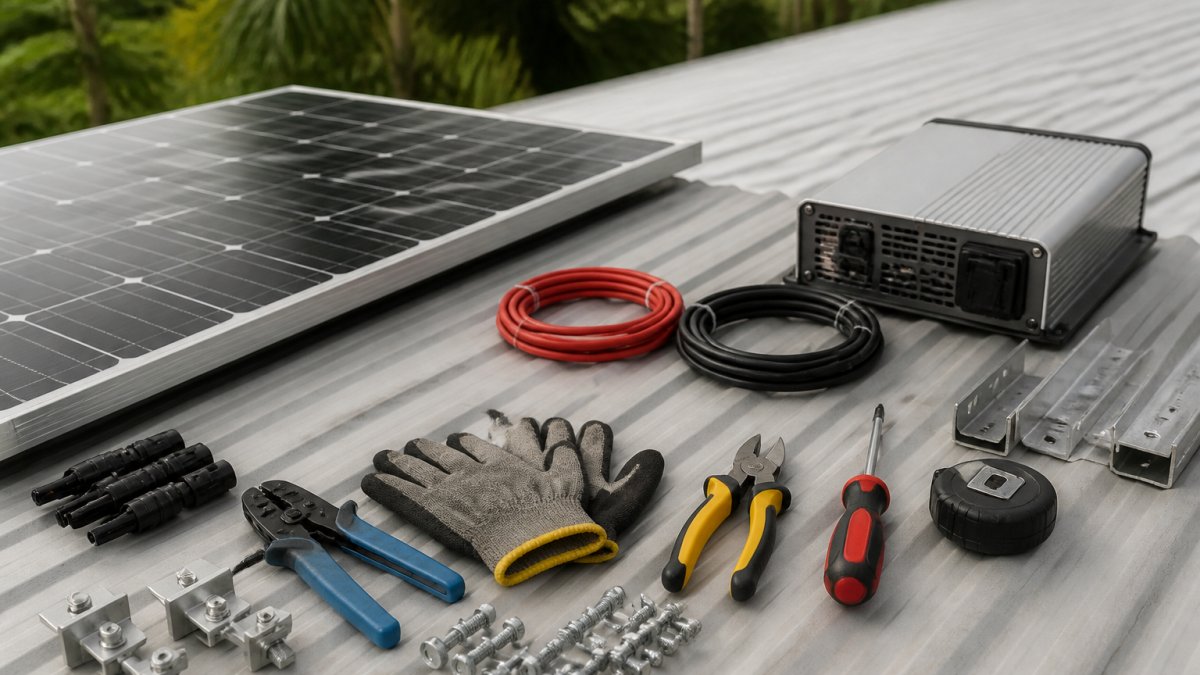
- Tools and access equipment, scaffolding or roof access, fall-arrest harness and anchor points, cable crimpers, insulation testers, and a DC clamp meter. If you don’t own them, hire or purchase costs land on the DIY side.
- Labour, the installer’s crew time, which is what DIY replaces.
A common mistake is comparing only material costs between DIY and professional quotes. Professional quotes include permits, inspections, warranties, and insurance. When you strip those from a DIY project, you’re not comparing like-for-like, you’re comparing a complete system against a partial one.
Where the labour saving actually goes
The headline saving is labour, but three cost lines eat into it before you’ve drilled a single hole:
- The electrician is not optional. Even on a fully self-installed system, a licensed electrician must make and certify the electrical connections and issue the compliance certificate, a real DIY cost already inside a professional quote.
- Tools and access. Scaffolding, harnesses, and test equipment for a multi-day roof job can run to several hundred dollars in hire alone, with no resale value afterwards.
- Your time. An experienced crew completes a typical residential install in a few days; a first-timer should expect roughly double, plus 10-20 hours of permit and connection paperwork. That is unpaid labour you supply instead of buy.
The break-even question
Rather than asking “how much cheaper is DIY?”, ask “how much contingency can the labour saving absorb?” A failed inverter outside warranty, a roof leak from a poorly flashed penetration, or a denied insurance claim can each exceed the entire labour saving. If the plausible worst-case repair cost is larger than the labour you saved, the saving is illusory.
Build the comparison as a spreadsheet with the same six lines for both options, and add a contingency row equal to your best estimate of one major component replacement. If DIY still wins after that row, it is genuinely cheaper for your project.
What to verify before you commit
Get written quotes for the electrician’s certification, council approval, and distributor connection application before buying equipment. These figures, plus tool hire, give the true DIY floor price, compare that against a full professional quote at the same system size and specification, not an equipment-only price.
Safety Risks, Electrical Hazards, and Roof Damage
This is where DIY solar installation becomes genuinely dangerous. Working at height, handling high-voltage electrical systems, and penetrating your roof create multiple hazard layers.
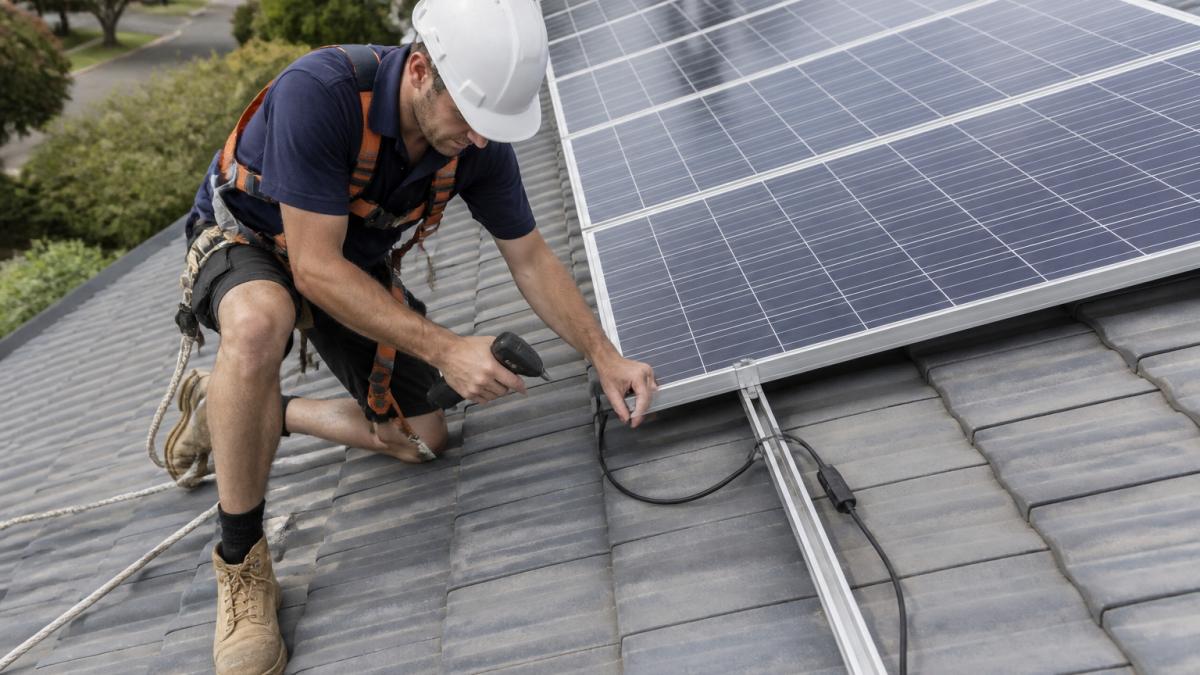
Roof penetration is the first major risk.
Electrical work carries serious risks.
Fall protection is non-negotiable on a roof.
Structural damage occurs when mounting systems are installed incorrectly. Improper load distribution can crack trusses or weaken the roof over time, damage that may stay invisible for years.
If you proceed with DIY installation, hire a licensed electrician for all electrical connections and grid integration work. This single step eliminates the highest-risk component and ensures compliance with electrical standards.
Solar Installation Licensing Requirements and Permits
Professional installers hold Clean Energy Council (CEC) accreditation and comply with Australian Standards AS/NZS 3000 and AS/NZS 5139:2019, which exist because solar installations directly affect electrical safety and grid stability.
Your local council requires a building permit before installation begins, covering system design, equipment specifications, and installation plans.
Electrical safety certification is mandatory. After installation, a licensed electrician must inspect the system and issue a Certificate of Electrical Safety (CES) proving compliance.
Grid connection approval comes from your electricity distributor, which verifies your system meets technical standards before allowing export.
DIY installers face a critical problem: most councils and distributors won’t approve systems without professional certification.
Solar Panel Warranty and Insurance: What DIY Voids
Solar panel manufacturers typically warrant panels for 25-30 years against defects, but most warranties require installation by a licensed professional.
If a panel fails within five years due to a manufacturing defect, the manufacturer won’t replace it.
Inverters carry shorter warranties, typically 10-15 years. Again, professional installation is usually required. A failed inverter costs $2,000-5,000 to replace.
Home insurance is another complication.
Warranty voids and insurance complications can transform a DIY installation’s apparent savings into long-term financial exposure. A single failure or incident can cost more than professional installation would have.
Solar System Grid Connection Requirements and Approval
Connecting your solar system to the grid requires technical compliance and formal approval. Feasibility depends on the order of approvals, and every jurisdiction sets its own rules.
The approval sequence, in order
For a grid-tied system, the practical sequence runs roughly as follows. Exact steps, forms, and fees differ by state, territory, and distributor, so treat this as the shape of the process rather than a fixed checklist.
- Confirm distributor requirements first. Before buying equipment, check your electricity distributor’s connection rules for your address. They set the technical standards your inverter and system must meet, and some areas have export limits or require pre-approval.
- Lodge the connection application. This is submitted to the distributor, usually with system design details and inverter specifications. Assessment takes time, commonly several weeks, and carries an application fee.
- Obtain council or building approval where required. Not every installation needs a separate building approval, but where it does, it should be secured before work starts. Requirements vary by council.
- Install to the applicable standards. Work must comply with Australian Standards, including AS/NZS 5033 for photovoltaic array installation and AS/NZS 5139 for battery systems, alongside AS/NZS 3000 for electrical installations.
- Electrical inspection and certification. A licensed electrician inspects the installation and issues the Certificate of Electrical Safety. This is the document that proves compliance.
- Distributor sign-off and meter change. The distributor approves the connection and arranges the meter configuration needed for export. Only after this can the system legally export to the grid.
The most common cause of delay is buying equipment before checking the distributor’s approved inverter list and export limits. If the hardware doesn’t meet the local rules, the connection application stalls and the equipment may need replacing.
Why requirements vary by location
There is no single national approval pathway. Connection rules, export limits, forms, fees, and timelines are set by each distributor, and building approval triggers differ between councils. Two identical systems a few suburbs apart can face different requirements and wait times.
That variability is also why DIY grid connection is so difficult. The application and certification steps require credentials the homeowner doesn’t hold, and the distributor won’t approve a connection without them.
Battery and off-grid systems
Battery storage changes the approval picture. A hybrid or off-grid system with batteries may not need grid approval for basic operation, but it brings its own requirements: battery installations fall under AS/NZS 5139, and the design must account for larger capacity and more complex electronics. The additional design and compliance work often narrows the gap between DIY and professional cost.
Before purchasing anything, call your distributor and ask three questions: what inverter models are approved for your address, what export limit applies, and what the connection application fee and timeline are. The answers determine whether your project is feasible as designed.
What to verify and retain
Keep copies of the connection approval, the Certificate of Electrical Safety, and the council approval (where required). These documents support insurance, warranty, and resale, and prove compliance. If any is missing, the system’s legal status and warranty position are both in question.
When to DIY and When to Hire a Professional
DIY solar installation makes sense in very specific scenarios. Small, simple systems on accessible roofs, combined with strong electrical knowledge and proper safety equipment, can work.
DIY installation is reasonable if:
- Your system is under 3 kW (small residential system)
- Your roof is easily accessible and in good condition
- You have electrical experience or hire a licensed electrician for electrical work
- You’re comfortable navigating permits and council approval
- You understand that warranty and insurance complications may cost more than labour savings
- You’re willing to invest 40-60 hours of your time
Professional installation is the better choice if:
- Your roof is steep, complex, or difficult to access
- Your system exceeds 3 kW
- You want full warranty coverage and insurance protection
- You need grid connection and want to export power
- You value compliance certainty and don’t want to manage permits
- You prefer to avoid electrical hazards and fall risks
GridFree Solar provides expert solar panel and battery storage installation services designed to help Australian homeowners achieve smarter energy management and significant cost savings.
The labour cost difference between DIY and professional installation ranges from moderate to significant, but the gap narrows once you add permits, tools, time, warranty voids, and insurance complications.
DIY solar installation appeals because it promises cost savings. Our CEC accreditation qualifies your system for export credits, battery incentives, and ongoing performance monitoring. Connect Now to discuss whether professional installation is right for your home and explore the rebates and incentives available to you.
Frequently Asked Questions
Can you install solar panels yourself in Victoria?
DIY solar panel installation is technically possible, but it is heavily restricted. Electrical work on solar systems must comply with AS/NZS 3000 and AS/NZS 5139:2019 standards. Most electrical work requires a licensed electrician to obtain permits and pass inspection. Roof mounting, structural modifications, and grid connection also require professional certification. While you may source equipment, the installation itself typically requires a Clean Energy Council (CEC) accredited installer to ensure compliance, warranty validity, and grid approval.
Is DIY solar installation cheaper than professional installation?
DIY solar can reduce upfront costs by eliminating labour charges, but savings are often modest compared to the risks. Professional installers handle permits, inspections, and compliance, costs that DIY installers must still pay for separately. Equipment sourcing may also be more expensive without installer bulk discounts. More importantly, warranty voidance, insurance complications, and potential safety liabilities can erase any initial savings. A professional installation ensures system efficiency, grid approval, and long-term protection of your investment.
What are the risks of installing solar panels yourself?
DIY solar installation carries significant safety and financial risks. Electrical hazards include shock, arc flash, and fire if wiring is incorrect. Roof work risks structural damage and leaks if mounting is improper. System inefficiency results from poor design or panel placement. Voided warranties mean you pay for repairs out of pocket. Insurance may not cover damage from unpermitted work. Grid connection refusal is common without proper certification. Permit violations can result in fines. Professional installers mitigate these risks through training, inspection, and compliance.
Does DIY solar affect warranties, rebates, or grid connection?
Yes, significantly. Most solar panel and battery warranties explicitly exclude DIY installations and require CEC accredited installer certification. Government rebates through the Small-scale Renewable Energy Scheme and the Cheaper Home Batteries Program typically require professional installation by a licensed provider. Grid connection approval from your local network operator almost always requires a CEC accredited installer and a Certificate of Electrical Safety (CES). Attempting DIY installation can disqualify you from all three, making professional installation the only path to financial incentives and grid approval.
When should you hire a licensed solar installer?
You should hire a licensed installer for nearly all residential solar work. If your roof requires structural modifications, electrical connections are involved, or you need grid connection, professional installation is mandatory. Even if you source panels yourself, a licensed electrician must handle all wiring, inverter installation, and grid interface. A CEC accredited installer ensures compliance with AS/NZS standards, obtains permits, passes inspection, and protects your warranty and rebate eligibility. The cost of professional installation is recovered through rebates, efficiency gains, and avoided liability.