
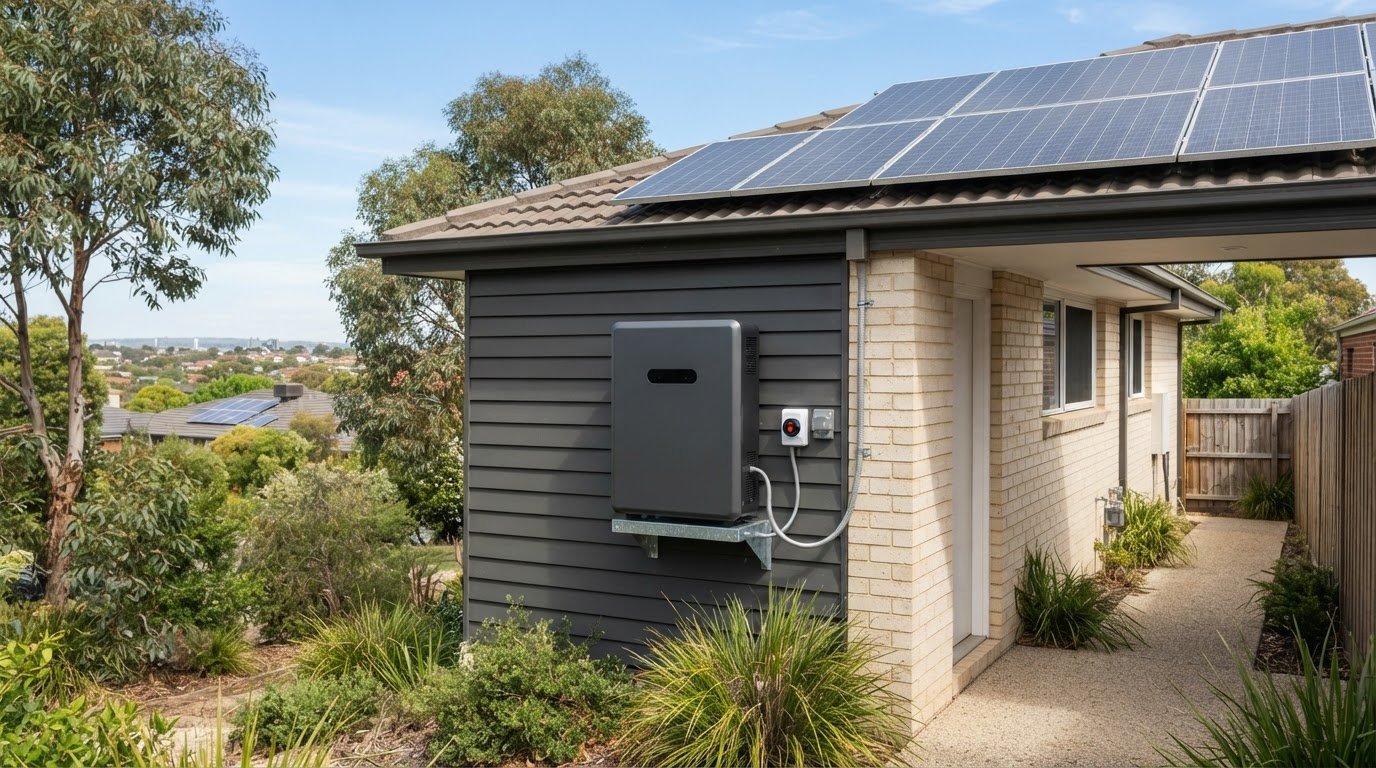
A separate inspection isn’t a universal final step for every Australian home battery installation. Some solar installations require an independent audit or smart meter before switch-on, so the checks needed depend on the installation and its connection process. A solar battery installation checklist helps you understand what an inspector may examine, but it isn’t an exhaustive list of every installation requirement.
Before work begins, it’s sensible to get clear answers about battery placement, access and safety. These details affect whether a location is suitable. A solar battery installation checklist helps you identify what needs checking instead of assuming a battery can go anywhere or every installation follows the same process.
This guide explains when inspections may be required and walks through the practical checks for location, restricted areas, safety labelling and physical protection. You’ll also see what to look for at handover, so you can better understand how the installation is set up and what the safety information means.
Key Takeaways
- Use AS/NZS 5139:2019 as a key reference for pre-assembled battery-system installation requirements, and understand that some systems may need an independent audit or smart meter before switch-on.
- Assess the proposed battery location for adequate space, ventilation and separation from habitable rooms before installation begins.
- Check that required battery safety signage is in place and that you understand the emergency shutdown procedure at handover.
- Review access clearances and cable protection around the installed system, as these details help prevent physical damage and support safe access.
Are Inspections Required On Home Battery Installs?
Not every Australian home battery installation follows the same process. An independent audit or smart meter installation may be required before a solar system can be switched on. Your solar battery installation checklist should cover both the installation and the connection process.
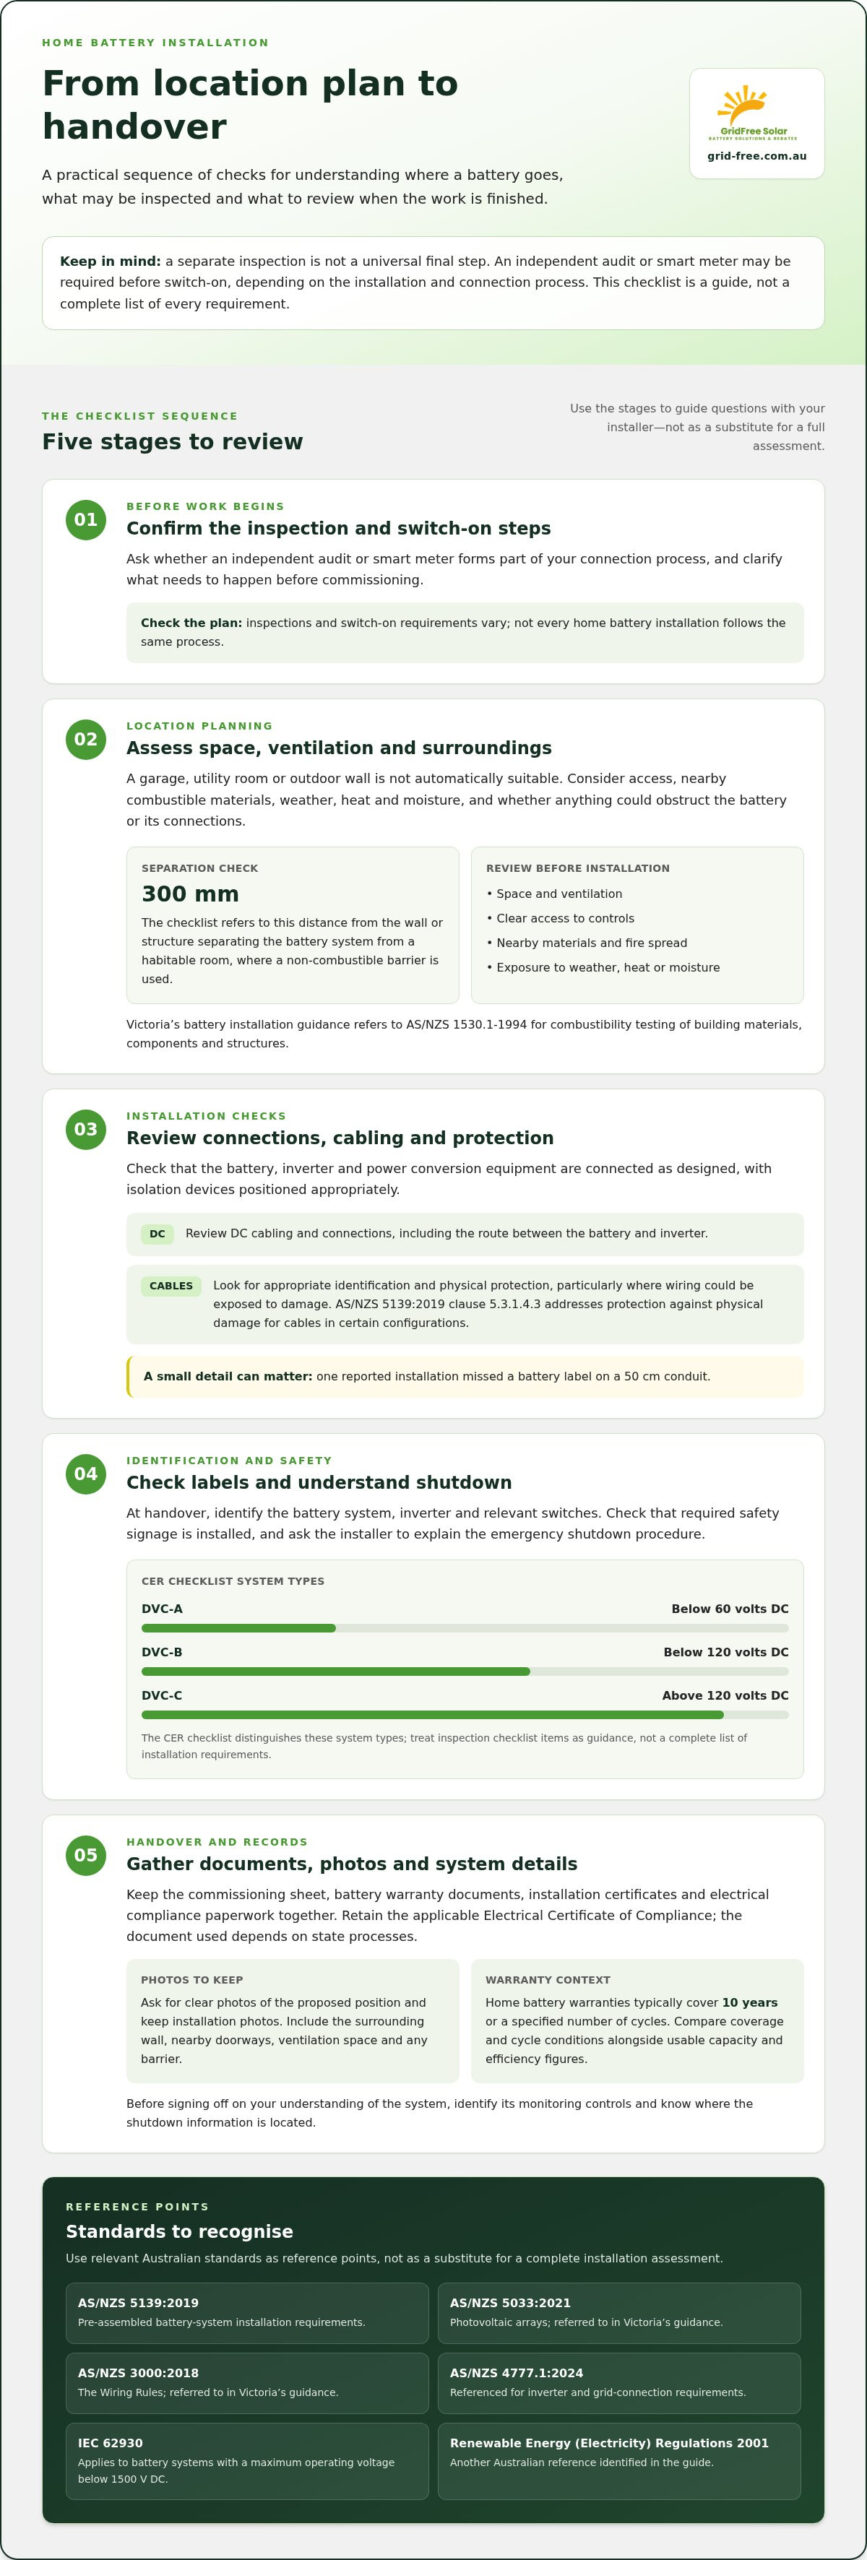
Use the relevant Australian standards as reference points, not as a substitute for a complete installation assessment. AS/NZS 5139:2019 covers pre-assembled battery-system installation requirements. Victoria’s guidance also refers to AS/NZS 5033:2021 for photovoltaic arrays and AS/NZS 3000:2018, the Wiring Rules. Inverter and grid-connection requirements reference AS/NZS 4777.1:2024. IEC 62930 applies to battery systems with a maximum operating voltage below 1500 V DC. The Renewable Energy (Electricity) Regulations 2001 are another Australian reference.
- Confirm the inspection and switch-on steps. An independent audit or smart meter may form part of the process, so identify which applies before commissioning.
- Review DC cabling and connections. Check that the battery, inverter and power conversion equipment are connected as designed, with isolation devices positioned appropriately.
- Collect the installation documents. Keep the commissioning sheet, battery warranty documents, installation certificates and electrical compliance paperwork together.
- Review the Electrical Certificate of Compliance. Retain the applicable certificate with the installation records; state processes determine the document used.
Home battery warranties typically cover 10 years or a specified number of cycles. Compare the warranty’s coverage and cycle conditions alongside usable capacity and efficiency figures, so you understand how much stored energy is available and how effectively the system converts it.
In Victoria, the Solar Homes Program battery loan closed in May 2025, and audits of its battery systems have been finalised. Battery or solar rebate eligibility depends on the applicable program and installation conditions.
Battery location and restricted installation areas
Choose a battery position with adequate space and ventilation, then assess its surroundings before installation. Avoid treating a garage, utility room or outdoor wall as automatically suitable: the battery’s clearances, nearby materials, access and environmental exposure all matter. In Australia, the selected location must suit the installed system and its safety requirements.
Before installation, look for nearby combustible materials, restricted access and anything that could obstruct the battery or its connections. Victoria’s battery installation guidance refers to AS/NZS 1530.1-1994 for combustibility testing of building materials, components and structures. After installation, check for visible damage, blocked ventilation and clear access to the shutdown procedure.
Review these location details with the installation plan:
- Check separation from habitable rooms. Where a non-combustible barrier is used, the checklist refers to a 300 mm distance from the wall or structure separating the battery system from a habitable room.
- Assess environmental conditions. Confirm the area has enough space and ventilation, and consider whether exposure to weather, heat or moisture could affect the chosen position.
- Keep access clear. Make sure people can reach the battery and its controls without stored items blocking the route or preventing safe operation.
- Consider fire spread. Review nearby materials and the proposed barrier, so the installation location is assessed for how fire could spread between the battery and adjoining spaces.
Ask for clear photos of the proposed battery position before work starts, and keep installation photos with your records. Include the surrounding wall, nearby doorways, ventilation space and any barrier. These images help you compare the finished placement with the plan and may assist with future servicing or monitoring.
At handover, identify the signage, shutdown procedure and monitoring controls. If you’re planning a system or changing an existing one, solar and battery installation planning can help connect location decisions with the wider setup.
Battery system labelling
Labels help householders and emergency responders identify battery equipment, isolation points and shutdown information. At handover, check that the required safety signage is installed and ask the installer to explain the emergency shutdown procedure. Make sure you can identify the battery system, inverter and relevant switches.
Inspect the wiring route between the battery and inverter. A short conduit still matters: one reported installation missed a battery label on a 50 cm conduit. Check the finished cabling for appropriate identification and physical protection, particularly where wiring could be exposed to damage. AS/NZS 5139:2019 clause 5.3.1.4.3 addresses protection against physical damage for cables in certain configurations.
Battery system type affects the installation checks and audit scope. The CER checklist distinguishes DVC-A systems below 60 volts DC, DVC-B systems below 120 volts DC, and DVC-C systems above 120 volts DC. Treat the inspection checklist as a set of items inspectors use, not a complete list of every installation requirement.
To check whether your solar inverter is compatible with a battery, compare the inverter’s specifications with the battery’s compatibility requirements. Confirm whether the existing inverter supports a battery connection, or whether the system needs a battery with an inverter or a separate inverter.
Use commissioning and handover to confirm the system operates as intended:
- Review the paperwork. Keep the commissioning sheet, installation certificates and electrical compliance documents with the battery warranty.
- Test the energy flow. Ask the installer to demonstrate that the battery charges from solar and supplies the home when solar generation drops.
- Check monitoring. Confirm the monitoring app is installed, your login works and you can interpret its graphs.
- Test backup, if fitted. Have the installer simulate an outage and confirm essential circuits receive battery power.
- Understand the shutdown process. Review the operating instructions, including emergency and maintenance isolation procedures.
Before sign-off, compare the labels, wiring, test results and handover documents with the installed system. Clear records make safe operation and future servicing easier.
Physical protection and compliant battery locations
Check access space around the battery, especially where doors open or electrical equipment is exposed. The CER checklist cites 900 mm clearance where access involves 230 V, and 600 mm for specified integrated battery installation conditions. These figures apply to their stated conditions, not every battery layout.
Physical protection matters too. AS/NZS 5139:2019 clause 5.3.1.4.3 addresses adequate protection against physical damage for cables in certain configurations. Look for wiring exposed to knocks, abrasion or impact, particularly along routes near stored items, doorways or work areas. Check that cable protection remains secure and doesn’t obstruct access to the switchboard.
- Record the equipment identity. Photograph the battery compliance plate and serial number, keeping both images with the installation paperwork.
- Check clearance and access. Compare the finished position with the installation plan and applicable clearance conditions, including open doors and access to controls.
- Review protection and signage. Confirm cables have suitable physical protection and required safety signage is installed and visible.
- Keep compliance documents. File the commissioning sheet, installation certificates and electrical compliance paperwork together for future reference.
Before signing, ask: “Which clearance conditions apply to this battery’s location, and how are exposed cables protected?” Also ask who will be physically present for set-up, the mid-installation check and testing and commissioning. At least one installer on site must be accredited by Solar Accreditation Australia.
At handover, compare the battery serial number and compliance plate photos with the installed unit. Keep the shutdown instructions and safety signage details with your system records so household members can find them quickly.
For a battery installation or upgrade, discuss your solar and battery installation and the location requirements with GridFree Solar.
GridFree Solar: Battery Upgrade & Replacement
GridFree Solar provides Battery Upgrade & Replacement for households whose existing battery needs replacing or whose storage setup is being upgraded. If you’re planning a new system, its solar and battery installation service brings generation and storage together as one project.
Use this guide to prepare for a practical discussion: share your current system details, note the proposed battery location, and list questions about access, labelling or handover paperwork. This helps focus the conversation on the work you need. GridFree Solar also provides Residential Solar Panel Installation and Commercial Solar Solutions in Melbourne and Victoria.
If you’re planning a battery upgrade or a new solar and battery system, contact GridFree Solar to discuss your project in Melbourne or Victoria.
Turn your battery plans into a clear next step
A well-planned battery project starts with choices that suit your household, not simply a place to mount equipment. Use your solar battery installation checklist to note what you want the system to do, the changes you’re considering and any practical questions. This gives your next conversation a clear focus, whether you’re replacing an existing battery or planning a new solar setup.
GridFree Solar offers Battery Upgrade & Replacement, Residential Solar Panel Installation and Commercial Solar Solutions in Melbourne and Victoria. The right service depends on whether you’re updating an existing system, installing solar at home or planning a commercial project. Bring your requirements and priorities to the discussion so the proposed work can be considered in the context of your project.
Ready to discuss your plans? Contact GridFree Solar and take the next step towards a system that fits your needs.
Frequently Asked Questions
What should be included in a solar battery installation checklist in Australia?
Include checks for system compatibility, battery placement, access, cable protection, labelling and commissioning. A practical solar battery installation checklist should also record the battery and inverter models, proposed location, shutdown instructions and handover documents. For example, note whether you need backup power, as this affects which household circuits are tested during commissioning.
What size solar battery do I need for my home in Australia?
Choose capacity around the energy you want to store and use, rather than household size alone. Home batteries typically range from 5 to 20+ kWh, but your useful capacity depends on essential appliances, solar generation and whether you want backup during outages. Compare usable capacity, not just the battery’s headline capacity, and check compatibility with your existing or planned solar system.
What Australian standards and regulations apply to solar battery installation?
Key references include AS/NZS 5139:2019 for pre-assembled battery systems, AS/NZS 3000:2018 for wiring, and AS/NZS 5033:2021 for photovoltaic arrays in Victoria’s guidance. Inverter and grid-connection requirements reference AS/NZS 4777.1:2024; IEC 62930 applies to battery systems with a maximum operating voltage below 1500 V DC. The Renewable Energy (Electricity) Regulations 2001 are also among the Australian references.
Do I need council approval or an electrical inspection to install a home battery in Australia?
An independent audit or smart meter installation may be required before a solar system can be switched on. This is separate from council approval, which concerns local planning controls rather than electrical commissioning. The process depends on the proposed work and property, so include both planning approval and electrical sign-off in your project timeline.
Where should a home battery be installed, and what clearances and ventilation are required?
Choose a position with adequate space, ventilation and safe access, then follow the clearances required for that system and site. Clearance requirements depend on installation conditions and nearby electrical equipment, so one figure cannot describe every layout. Consider heat, moisture, nearby combustible materials and household traffic. Keep the battery’s operating area accessible, and avoid storing items where they could obstruct inspection or operation.
What commissioning documents and tests should I receive after battery installation?
Keep the commissioning sheet, battery warranty, installation certificate and applicable electrical compliance paperwork. Ask for a demonstration of the battery charging from solar and supplying the home when solar generation drops. If backup is fitted, confirm that essential circuits operate during a simulated outage. Check whether the warranty requires registration, and keep the battery’s serial number with your system records.