
Table of Contents
- Start with Your Energy Bills and Usage Baseline
- How to Find Air Leaks in a House
- Inspecting Windows, Doors, and the Thermal Envelope
- Checking Attic and Wall Insulation
- Evaluating Your Heating and Cooling Systems
- Home Energy Audit Tools and How to Use Them
- Creating Your Home Energy Audit Template and Measuring Results
- How Long Does a Home Energy Audit Take and When to Call a Professional
- Frequently Asked Questions
Last Updated: October 21, 2026
Start with Your Energy Bills and Usage Baseline
Understanding your current energy consumption is the first step in a DIY home energy audit checklist. Your utility bills tell the real story of where your money goes each month.
Pull your bills from the last 12 months. Look at your kilowatt-hour usage, not just the dollar amount. Watch for seasonal patterns. Most homes use more energy in summer (cooling) and winter (heating).
Create a simple table to track this:
| Month | kWh Used | Cost (AUD) | Temperature Range |
|---|---|---|---|
| January | 450 | $135 | 25-32°C |
| February | 420 | $126 | 24-31°C |
| March | 380 | $114 | 20-28°C |
This baseline shows you where you stand before making changes. It also helps you spot unusual spikes that point to problem areas.
Comparing your consumption against similar homes in your area can be insightful. If your usage is significantly higher, air leaks, poor insulation, or inefficient systems are likely culprits. This data becomes your benchmark for measuring results after improvements.
How to Find Air Leaks in a House
Air leaks waste energy year-round. Warm air escapes in winter, and cool air leaks out in summer. Finding these leaks is one of the most valuable parts of your home energy audit checklist.
Start with a visual inspection. Look around window frames, door frames, electrical outlets, and where pipes enter the house. Caulking that’s cracked or missing is a red flag. Weatherstripping that’s compressed or peeling needs replacement.
Next, do a smoke test on a calm day. Light a stick of incense or use a smoke pen. Move it slowly around door and window frames. If the smoke moves toward or away from the frame, you’ve found a leak. Mark these spots with tape so you remember them.
Feel for drafts with your hand. On windy days, hold your palm near suspect areas. Moving air means a leak. Pay special attention to:
- Around window and door frames
- Where the foundation meets the house
- Gaps around electrical outlets
- Where pipes and cables enter walls
- Attic access doors
- Basement rim joists
These leaks add up fast. Sealing them with caulk or weatherstripping is affordable and delivers immediate results.
Inspecting Windows, Doors, and the Thermal Envelope
Your windows and doors form part of your home’s thermal envelope, the barrier that keeps conditioned air inside. A weak thermal envelope wastes energy constantly.
Check every window for visible damage. Look for cracked glass, damaged frames, or failed seals between panes. Condensation between panes means the seal has broken. These windows need replacement.
Examine door frames carefully. Doors that don’t close smoothly or leave gaps allow air to escape. Check the weatherstripping around every exterior door. Press it with your finger.
Test windows and doors for air tightness. Close a door or window and try to wiggle it. Excessive movement suggests poor seals.
Consider the age of your windows and doors. Older single-pane windows offer poor insulation compared to modern double-glazed units. They’re a major source of heat loss in winter and heat gain in summer.
Document what you find in your home energy audit checklist. Note which windows and doors need attention. Prioritise those in high-traffic areas or exposed to prevailing winds.
Checking Attic and Wall Insulation
Proper insulation keeps your home comfortable and reduces heating and cooling costs significantly.
Access your roof space safely. Wear a dust mask, gloves, and eye protection. Use a sturdy ladder and have someone else at home. Never step between ceiling joists, always walk on the joists or lay boards across them.
Measure insulation depth with a ruler or tape measure in several spots, not just one. Record the type, batts, blankets, loose-fill, or spray foam, and the depth in millimetres.
Current building standards typically recommend insulation levels that vary by climate zone. As a rough guide:
- Roof space: R4.0 to R6.0 in cooler zones, R3.5 to R5.0 in milder zones
- Walls: R1.5 to R2.5 where accessible
- Underfloor: R1.5 to R2.5
If your roof space insulation is less than 150mm thick, it is probably inadequate for most climate zones. Look for gaps around pipes, vents, and electrical fixtures, these allow conditioned air to escape and bypass your insulation entirely.
Wall insulation is harder to assess without removing walls, but you can check around electrical outlets. Turn off power at the circuit breaker, remove the outlet cover, and look inside with a torch. If you see insulation, the wall is likely insulated.
Never enter a roof space with active asbestos, mould, or pest infestations. If you suspect any of these, stop and call a qualified professional. Do not compress insulation to make walking easier, compressed insulation loses much of its R-value.
Document your findings with depth measurements and photos. Poor roof space insulation is one of the easiest and most cost-effective upgrades you can make, but the right level depends on your climate zone and the rest of your thermal envelope.
Evaluating Your Heating and Cooling Systems
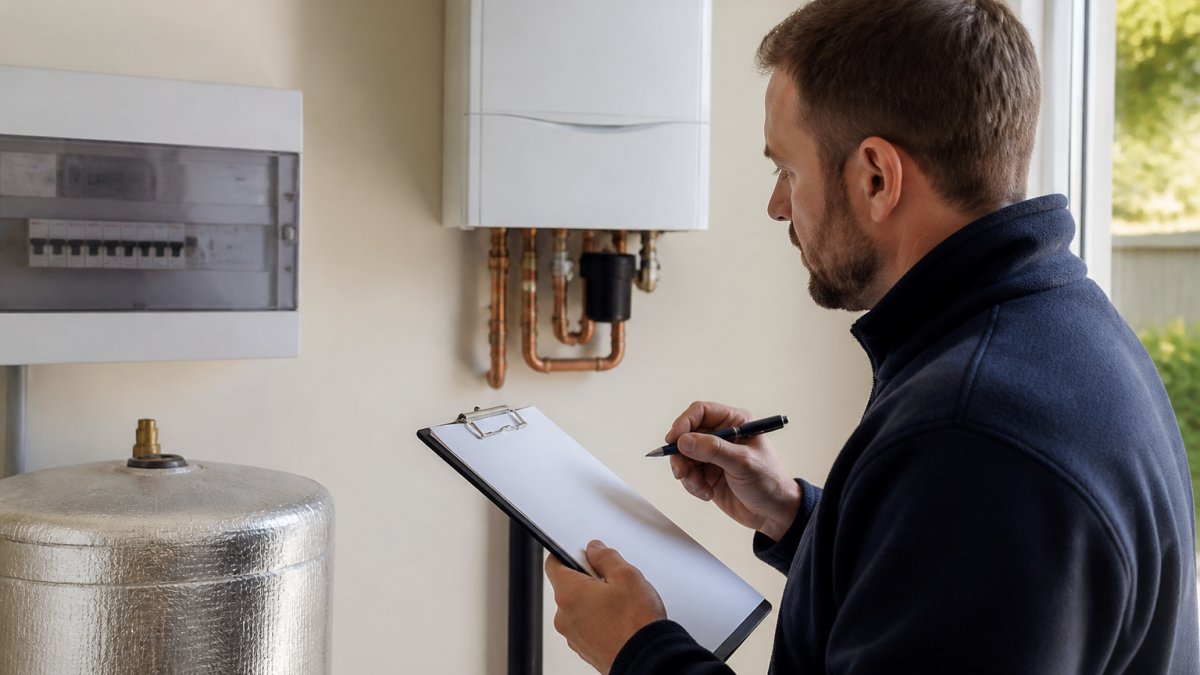
Your HVAC system (heating, ventilation, and air conditioning) often accounts for 40-50% of household energy use. A thorough evaluation is essential for your home energy audit checklist.
Check your heating system’s age. If it’s over 15 years old, efficiency has likely declined. Modern systems are significantly more efficient than older units.
Inspect the air filter. A dirty filter forces your system to work harder and wastes energy. Replace filters every 1-3 months during heavy use. This simple step improves efficiency immediately.
Look at your thermostat. Older manual thermostats waste energy because they can’t adjust automatically.
Check ductwork for leaks. In basements or attics, look for gaps, holes, or disconnected sections. Leaky ducts lose conditioned air before it reaches your rooms. Seal visible leaks with duct tape or mastic sealant.
Ensure vents aren’t blocked. Furniture, curtains, or dirt blocking vents forces your system to work harder. Keep all supply and return vents clear.
Listen to your system. Unusual noises suggest maintenance issues. A professional inspection costs money but catches problems early.
Home Energy Audit Tools and How to Use Them
You don’t need expensive equipment to conduct a thorough home energy audit checklist.
Smoke pen or incense (under AUD 10): Use it on a calm day to find air leaks around frames and seals. The smoke moves toward leaks, making them visible.
Infrared thermometer (AUD 30-80): Point it at surfaces to measure temperature. Useful for checking whether insulation is working and for spotting cold spots on interior walls that suggest poor insulation or air leaks.
Moisture meter (AUD 30-80): Checks for moisture in walls or roof space. Excess moisture indicates leaks or ventilation problems.
Plug-in power meter (AUD 20-50): Plugs into outlets to measure how much power individual appliances use. Identifies energy hogs like old refrigerators or inefficient heaters.
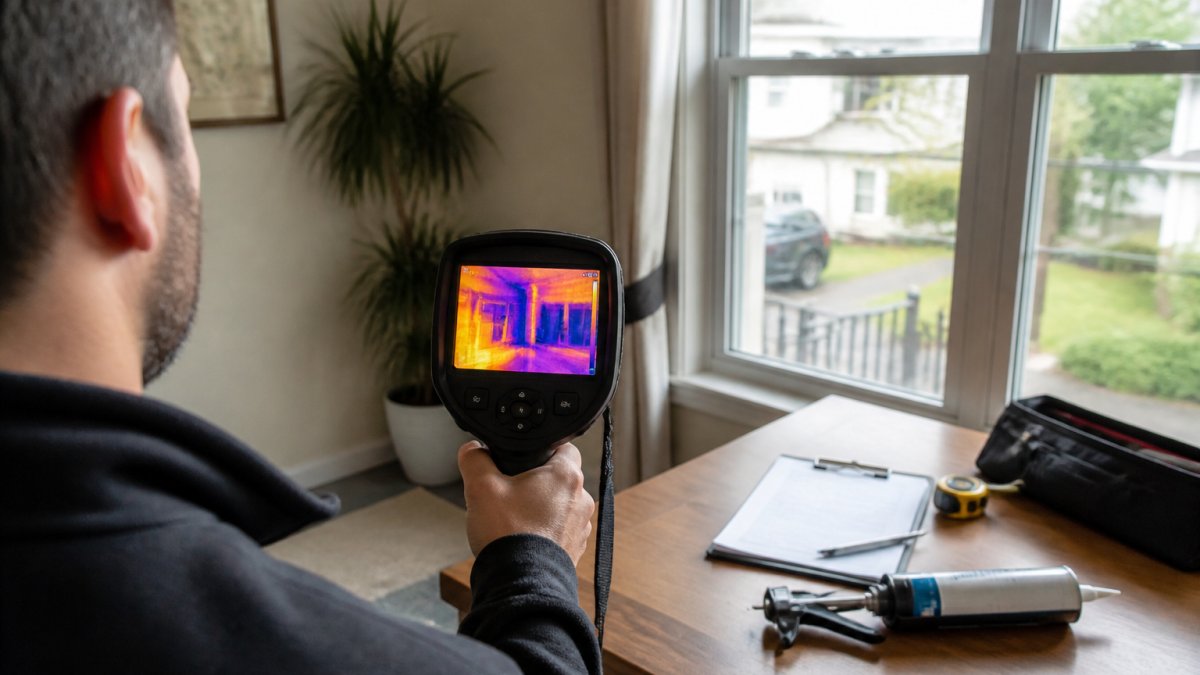
Thermal imaging camera (optional, AUD 200+): These cameras show temperature differences on walls, windows, and doors. They reveal air leaks and insulation gaps visually.
Blower door test (professional tool): Temporarily seals your front door and uses a powerful fan to depressurise your home. This reveals air leaks throughout the house and can quantify total leakage.
Start with the free or cheap tools: smoke pen, incense, and your hands. These reveal most major problems. Invest in specialised tools only if you need more detail, and always read the limitations before trusting a reading.
Safety limits matter. Do not remove outlet covers or probe inside walls if you are unsure about the wiring. Do not enter a roof space with suspected asbestos, mould, or pest infestation. If a tool suggests a serious problem, persistent moisture, a hot spot near wiring, or a large insulation gap you cannot safely access, call a qualified professional rather than improvising.
Creating Your Home Energy Audit Template and Measuring Results
A structured template keeps your audit organised and gives you data to track improvements over time.
Create a simple form with these sections:
- Room name and size
- Windows: condition, age, type (single or double-glazed)
- Doors: condition, weatherstripping status
- Insulation: visible type and depth
- Air leaks: location and severity
- HVAC vents: clear or blocked
- Lighting: bulb type and count
- Appliances: age and condition
- Notes: priority repairs or upgrades
Walk through your home systematically, room by room. Spend 15-30 minutes per room depending on size. Rate each item as good, fair, or poor.
Prioritise findings by impact. Air leaks and poor insulation deliver the biggest savings. Lighting and appliance upgrades come next. Focus on high-impact items first.
After making improvements, track your energy bills monthly. Compare them to your baseline. You should see reductions within 2-3 months if you’ve sealed major leaks or upgraded insulation.
Document before-and-after consumption. This shows whether your efforts are working and helps justify future investments.
How Long Does a Home Energy Audit Take and When to Call a Professional
A thorough DIY home energy audit checklist typically takes 4-8 hours for an average home, depending on size and complexity.
Break it into sections:
- Energy bills review: 30 minutes
- Visual inspection and air leak detection: 2-3 hours
- Attic and insulation check: 1-2 hours
- HVAC and appliance evaluation: 1 hour
- Documentation and planning: 1 hour
You don’t need to finish in one day. Spread the audit across a weekend or two. This gives you time to think through findings and plan next steps.
Call a professional if:
- You’re uncomfortable accessing the attic or crawlspaces
- You suspect structural damage or moisture problems
- You need a blower door test for precise air leak measurement
- You want a certified energy auditor’s formal report
- You’re planning major renovations and need expert guidance
Professional audits cost money but provide detailed reports, thermal imaging data, and specific recommendations. They’re worth considering if you’re planning significant upgrades or if your DIY findings suggest serious issues.
Safety matters. Never enter an attic with active asbestos, mould, or pest infestations. Never work at heights without proper equipment. If you’re unsure, ask a professional.
A home energy audit checklist reveals where your energy goes and where you can save money. Start with your bills, find air leaks, inspect insulation, and evaluate your heating and cooling systems. The tools are simple and affordable.
GridFree Solar helps Australian homeowners take the next step after your audit. Once you’ve identified inefficiencies, solar panels and battery storage systems deliver real, measurable savings. We’ll help you understand how the Small-scale Renewable Energy Scheme and other government incentives apply to your situation.
Frequently Asked Questions
Can I do a home energy audit myself?
Yes. A DIY home energy audit checklist lets you inspect your home’s thermal envelope, identify air leaks, check insulation, and review heating and cooling systems without hiring a professional. You’ll need basic tools like a flashlight, thermometer, and possibly a smoke pen or thermal imaging camera. Start with your utility bills to establish a usage baseline, then walk through each room systematically. Most homeowners complete a thorough audit in 2-4 hours. For complex issues or before major upgrades, consider a professional assessment.
What should be included in a home energy audit checklist?
A comprehensive home energy audit checklist covers utility bills and consumption patterns, air leaks and drafts around windows and doors, attic and wall insulation levels, heating and cooling system condition and thermostat settings, lighting and appliance efficiency, and ventilation quality. Document findings room by room using a printable template with pass/fail fields. Note which issues are low-cost (weatherstripping, caulking) versus those requiring professional help (HVAC repair, insulation replacement). Prioritise findings by potential cost savings and safety concerns.
How long does a DIY home energy audit take?
A thorough DIY home energy audit typically takes 2-4 hours, depending on your home’s size and complexity. Allow extra time if you’re using thermal imaging tools or measuring insulation depth. Start by reviewing 12 months of utility bills (30 minutes), then allocate 15-30 minutes per major area: attic, basement, living spaces, and HVAC system. Document findings carefully so you can track improvements after making upgrades. Rushing through the audit may cause you to miss smaller leaks or inefficiencies that add up to significant energy waste.
What tools do I need for a home energy audit?
Essential tools include a flashlight, thermometer, and notebook or printable checklist. Optional but useful tools are a smoke pen or incense stick to detect air leaks, a thermal imaging camera (available for hire or as a smartphone attachment), and a power meter to measure appliance consumption. A moisture metre helps check insulation condition. Most homeowners can complete a basic audit with just a flashlight and checklist. For measuring infiltration rates or identifying hidden thermal losses, professional-grade equipment may be worth the investment in a formal assessment.